Michiel Dethmers’s phplist ruled entirely every corner of the ITs and Enterprise Desk. It is a truly immeasurable open-source mailing list management software and now has a very sturdy demand.
phplist was developed with an aim to provide a seamless mass mailing interface for developers in terms of varying emailing concepts such as managing newsletters, subscriptions lists, newsletter reports, notification, and much more.
What is phplist? It is a kind of open-source mass mailing list manager that has the capability of sending newsletters, news, messages to a huge number of subscribers.
What makes it so wonderful? phplist incorporates a MySQL database for storing information and the script is written in PHP. This makes it easier to deploy and run on any web server. Hence, if an enterprise wants to set up a system for newsletter subscription, phplist setup is a wonderful criterion to proceed with.
Additionally, the software was designed for GNU/Linux with Apache. It also supports other Unix-like systems, such as FreeBSD, OpenBSD, Mac OS X, and Windows.
Features of phpList
- It is light and easy to integrate on any web server.
- It is ideal for newsletters, notifications, and many other uses.
- When it comes to mass mailing management, phplist is considered.
- It gives you a record of the number of users who opened your email message.
- With the help of FCKeditor and TinyMCE editors, you can edit HTML messages.
- It is available in English, French, Portuguese, German, Spanish, Dutch, Traditional Chinese, Vietnamese and Japanese.
Requirement of phpList
In order to install the application we require:
- GNU/Linux operating system
- Apache web server<./li>
- PHP version 4.3 or higher
- PHP Imap Module
- MySQL server version 4.0 or higher
Run-To-Test Environment
- Operating System – CentOS 6.4 & Ubuntu 13.04
- Apache – 2.2.15
- PHP – 5.5.3
- MySQL – 5.1.71
- phpList – 3.0.5
After acknowledging testing requirements, you can now proceed to learn how to set up phplist newsletter manager in Linux.
Also Read: How to Send Emails Using PHP Mail and PHPMailer Library
Installation of phpList Newsletter Manager in Linux
You need the IMAP module for bounce messaging clarification. If not, install them using a package manager tool called yum or apt-get according to your Linux distribution.
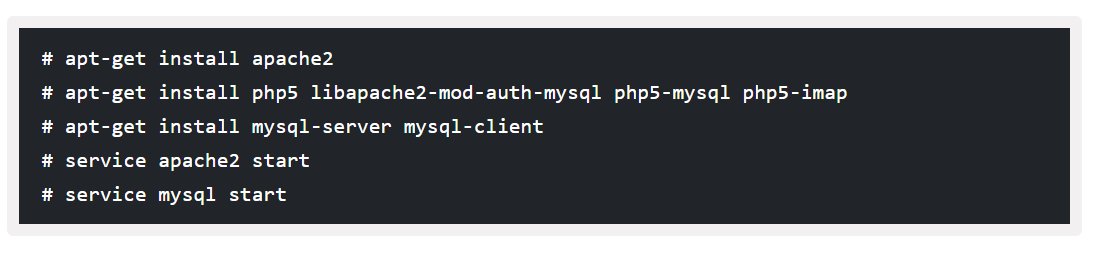
Step 1: Install Apache, PHP, and MySQL
Install on RedHat-based systems using the yum command.

Install on Debian-based systems using apt-get command.
Step 2: Create phpList Database
Once you’ve installed all the needed packages on the system, just log in to your database (MySQL, here).

Enter MySQL root password. Now create a database.

Step 3: Download and Install phpList
Now go to the official site and download the latest source tarball using the link below.
http://www.phplist.com/download
After completing downloading the package, unpack the package files. It will create a directory called ‘phplist-3.0.5′ in this directory, you will find a ‘public_html‘ which contains the directory lists.

Now Copy the “lists” directory into an Apache web root directory that can be accessed via the web.

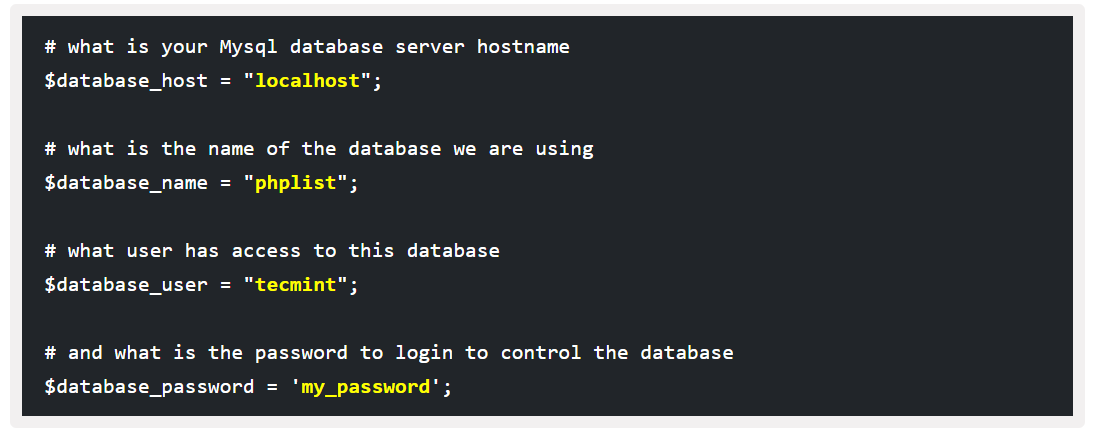
Step 4: Configuring phpList
Open the configuration file ‘config.php‘ from the ‘lists/config’ directory in your preferred text editor.

Input the database connection settings such as hostname, database name, database user, and database password as shown below.
One more job is left, by default phpList is in ‘test mode‘, so you need to change the value from ‘1‘ to ‘0‘ to disable test mode.

Once you’ve entered all the details. Save and close the file.
Step 5: Access phpList Application
In the end-game, point your browser to the ‘lists/admin‘ directory of your phpList installation.
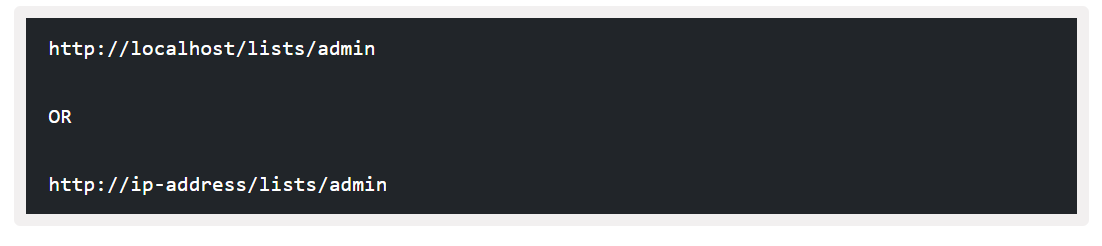
A web-based installation wizard will walk you through the rest. And after that, you will enter into the dashboard.
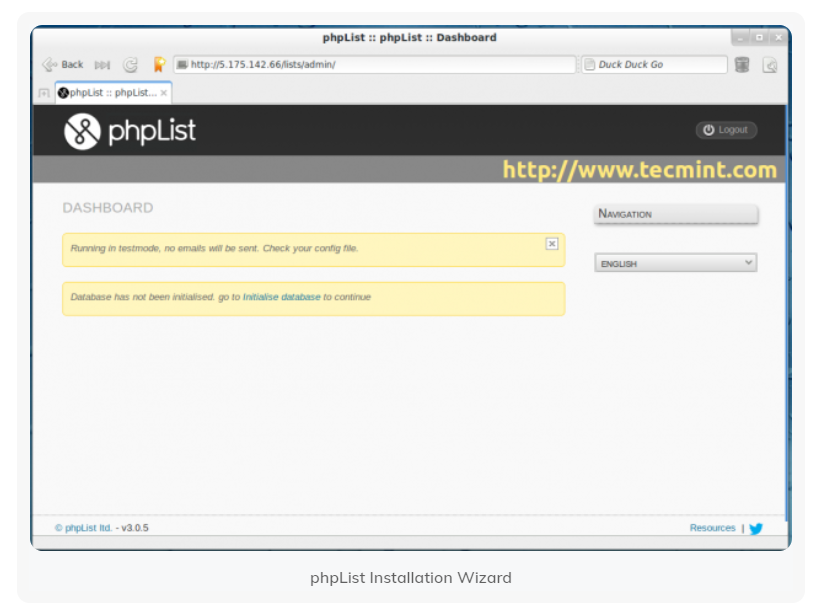
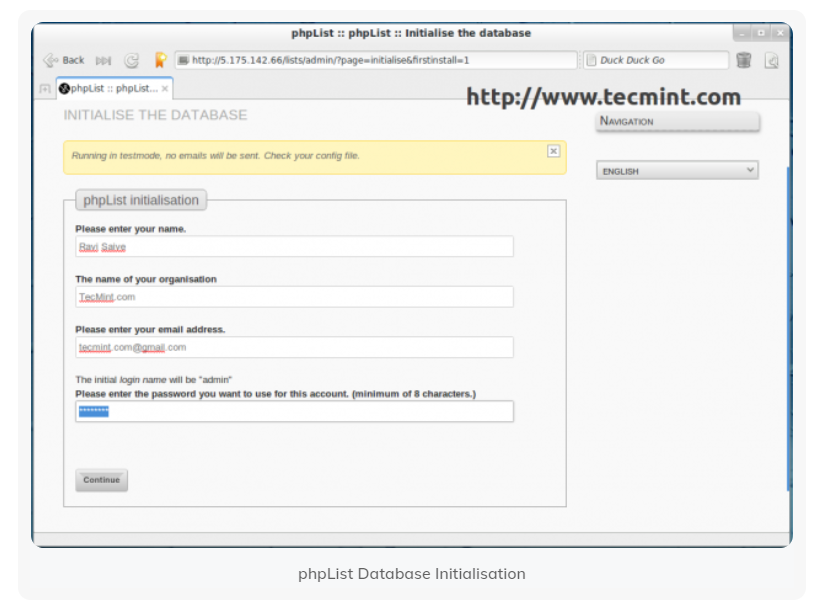
Now click on ‘Initialise database‘ and fill in information about your company and set an ‘admin‘ password.
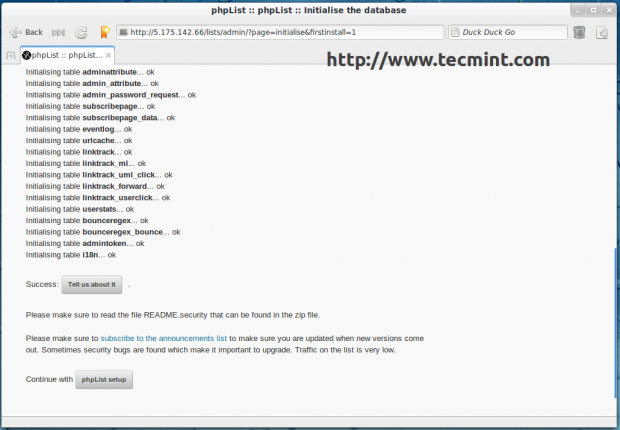
Once database initialization completes, continue to the setup to complete your configuration as per your requirements.
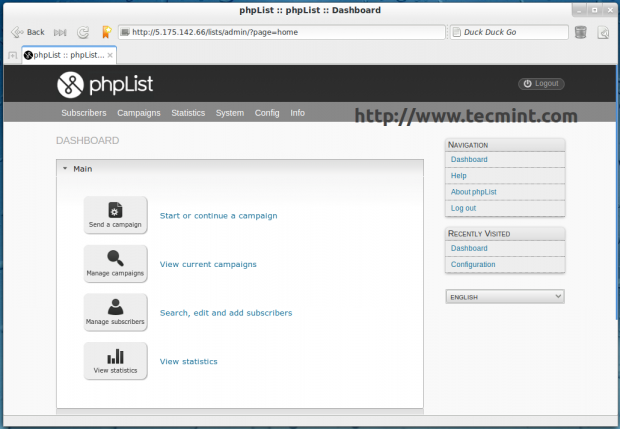
Once, setup is complete. Login to your admin panel.
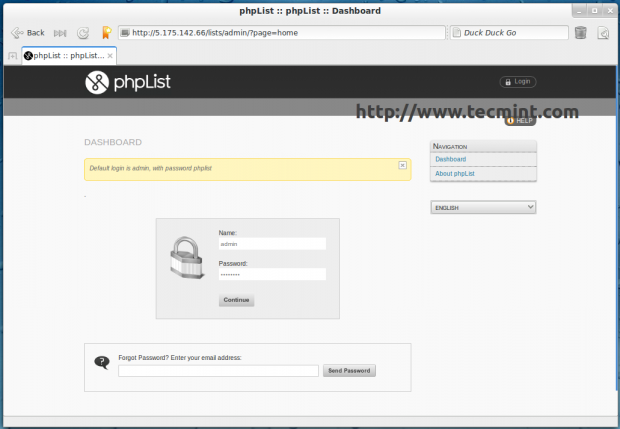
Start creating new campaigns, modify old campaigns, add/delete users, view statistics, and many more features to explore from the Dashboard.
That’s all!
I hope this blog is helpful. Now, you can start customizing and propagating your newly installed phpList newsletter manager application.
Need any help with mass mailing? Time4Servers Experts can help you in everything right from setting up a mailing server to configuring for optimum performance and more.
Note: The images and screenshots are being pulled from www.tecmint.com